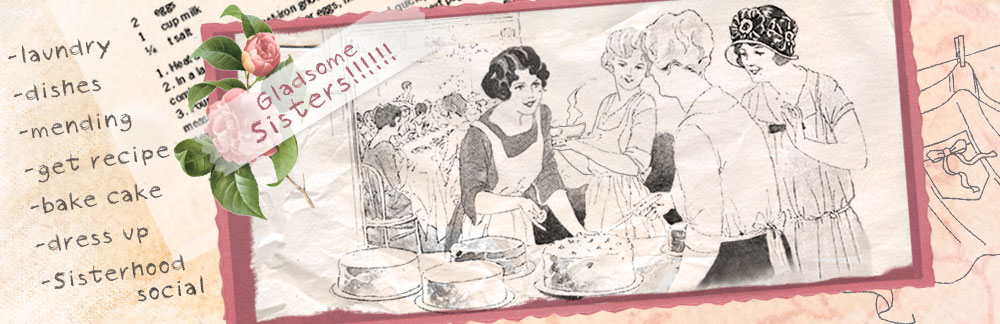


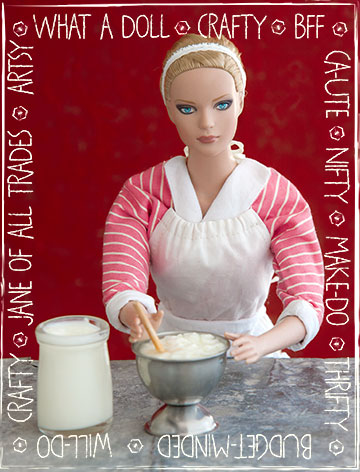
The adorable, always humorous MBA Jane is my way of honoring our Sisterhood Merit Badge program, now with 4,945 dues-paying members who have earned an amazing number of merit badges so far—6,765 total! Take it away, MBA Jane!!! MJ
Wondering who I am? I’m Merit Badge Awardee Jane (MBA Jane for short). In my former life …
For this week’s Farm Kitchen/Cheese Making Merit Badge, I was excited about two things:
1. It isn’t a recipe as much as it is a guideline.
and
2. I got to braid my hair in my favorite, but underutilized, hairstyle: Swiss Milkmaid.
First up: buttermilk.
Now, buttermilk is one of those things I forget even exists until I watch my yearly screening of White Christmas and Rosemary Clooney asks Bing Crosby for a nice, cool glass of buttermilk and a liverwurst sandwich. (She had me at buttermilk, she lost me at liverwurst). But then I learned having buttermilk on hand for all my baking needs (which there are a plethora) made my scones moister, my muffins softer, my cakes lighter, and my homemade ranch dressing a real crowd pleaser. So, now I’m sold: there will buttermilk in my fridge at all times.
To make your own, you have to cheat just a smidge, because you need a dollop of buttermilk already to start with (this is like the egg and chicken dilemma: which came first, the buttermilk or the buttermilk starter?) You’ll only need about a 1/3 of a cup or so. Put it lovingly in the bottom of your favorite pitcher and fill with good, clean, organic (maybe even raw, if you’re feeling rogue!) milk. Stir with a contented sigh. Allow to stay out on your counter for about 12-18 hours. I like to leave mine next to a batch of cookies; you know, to inspire it even more. Whenever you pass by, give it a shake or a stir. Voila! Pass the liverwurst, or better yet, forget the liverwurst and pass the Bing Crosby.
I got to wondering about buttermilk after this adventure. Would my dairy-free friends be able to adapt this recipe with rice milk or almond milk? Dairy-free friends, will you write and let me know?
Next up: yogurt (or yoghurt if you’re feeling European).
Now, I’m all about the yogurt. I mean, it’s been a girl’s waistline’s BFF for years, right? But let’s face it, with some of the yogurt brands in the supermarket, you might as well be eating corn-syrup-laden pudding, or having a donut! I was all about this DIY yogurt thing. I collected and carefully washed and dried some pint sized Mason jars. You could really use anything glass with a lid (or tight-fitting plastic wrap). But I like my yogurt ready to go, in one-serving containers.
Once again, you’ll need a starter: about 1 rounded tablespoon of PLAIN, unflavored yogurt at room temperature.
Heat up 1 quart of milk to 180°F. Do this slowly—we’re not in a hurry here, people! I’m still in the groove from my Relaxation badge, after all. Anyway, after it’s heated, we’re going to cool it down to about 110°F. Whisk it into your starter yogurt (a little at a time, until it’s all incorporated). Then, pour into your jars/bowls.
Put a hot pad into the bottom of an ice cooler (without the ice) and put your yogurt inside, then plug in the heating pad, set to low. You want the “cooler” to be a bit toasty, but you don’t want to cook your yogurt.
Leave it alone for at least 4 hours.
Then, feel free to flavor it if you like. I like peanut butter, banana, and local honey. Or don’t flavor it at all and use it like you would sour cream! Mmmmmmm, on a baked ‘tater with bacon and chives?
Now we’re talking.


I need one of those Jersey cows that MaryJane has. Yes, yes, I do!