


The adorable, always humorous MBA Jane is my way of honoring our Sisterhood Merit Badge program, now with 6,825 dues-paying members who have earned an amazing number of merit badges so far—9,626 total! Take it away, MBA Jane!!! ~MaryJane
Wondering who I am? I’m Merit Badge Awardee Jane (MBA Jane for short). In my former life …
For this week’s Young Cultivator Stitching and Crafting/Toys Beginning Level Merit Badge, I decided to make it easy on myself and hand the reins over to my niece, Piper. In order to earn her very first Young Cultivator badge, Piper needed to interview an adult about the toys they played with when they were young.
Ahhh, nostalgia, thy name is toys …
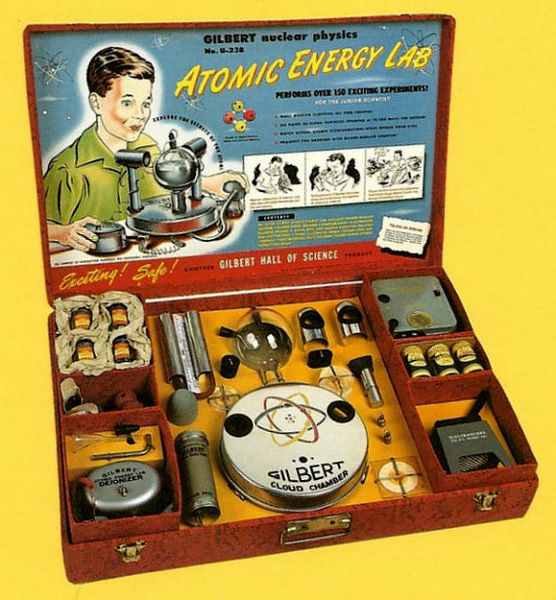
Photo by Webms via Wikimedia Commons
Take it away, Piper!
*tap, tap, tap*
Piper: Testing, testing, 1 … 2 … 3?
Jane: Isn’t that a plastic karaoke machine, Pipes?
Piper: I’ll do the questioning, ma’am. First question: what was your favorite toy growing up as a youngster in the 1850s?
Jane: Yikes! I’m not that old. My favorite toy only recently, as I am very spry and youthful, was my dolly, Adelaide.
Piper: I see. And what was said Adelaide made of? Wood?
Jane: Wood?
Piper: Yes. It’s my understanding that toys that long ago were likely actual sticks.
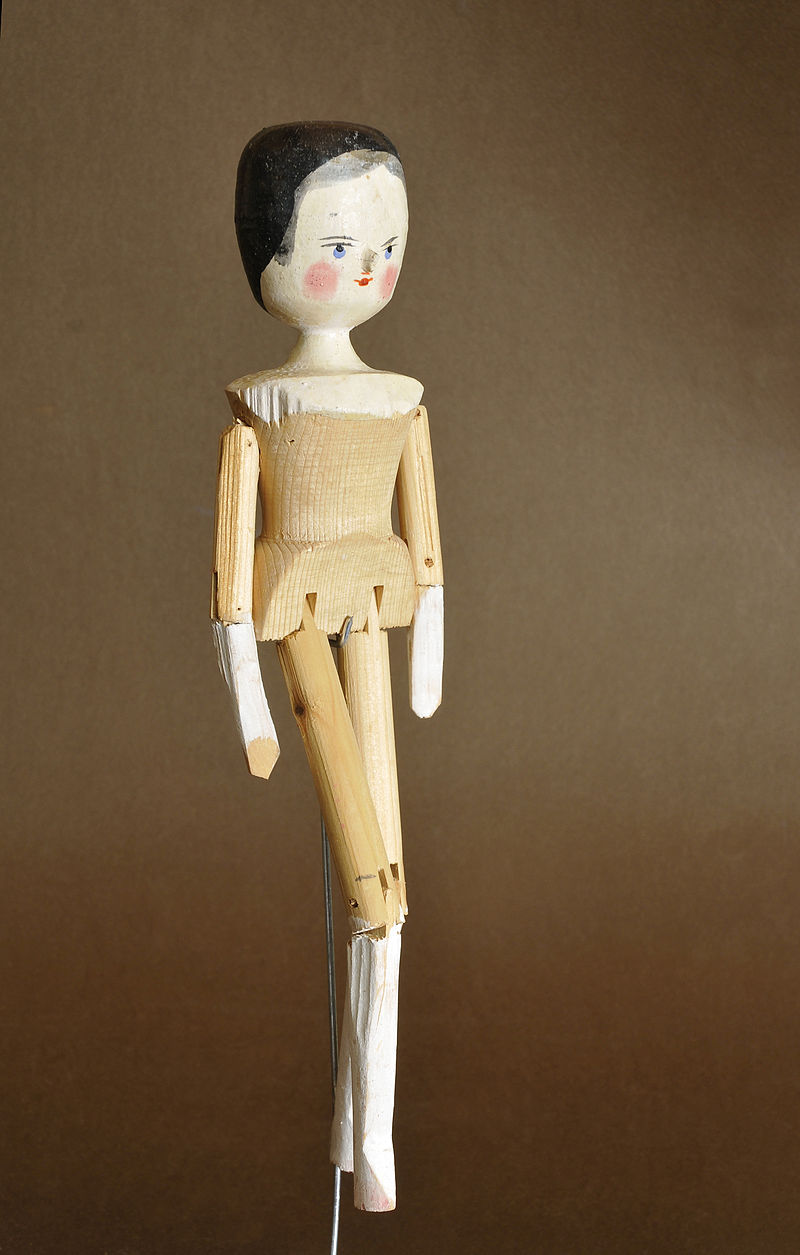
Stick doll or penny doll. Photo by Wolfgang Moroder via Wikimedia Commons.
Jane: A stick toy?
Piper: No, a stick used as a toy.
Jane, feeling ornery and deciding to go with it: Yes, Adelaide was a lovely stick. She was cherry mahogany, you know.
Piper: I see. And did you play with your stick for hours at a time?
Jane: Oh, yes. I dressed her up and braided her hair, which of course, was made of moss. Once I misplaced poor Adelaide and had to go looking for her. After I walked to school uphill both ways in the snow, naturally.
Piper: Goodness. Did you find her?
Jane, shaking her head sadly: It was a tragedy. It turns out my father had gone to gather kindling that morning for our stove while I was writing chalk verses on my slate for school.
Piper, gasping: Oh, no! Poor Adelaide!
Jane, chuckling: Just kidding. Adelaide was a real doll, and a posh one, too. She had little leather boots and a bunch of different outfits.
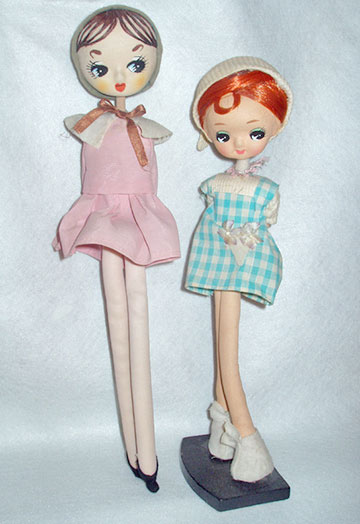
Vintage Bradley brand dolls from Japan, Photo by KeiBi via Wikimedia Commons
Piper, looking relieved, and also disappointed: Oh. Yeah, I have one like that. I don’t really play with her, though. I mostly play my iPad and stuff.
Jane: Really? Have you ever told her your secrets? Or sent her on secret missions for you?
Piper, looking slightly interested: Nooo … that sounds kinda fun, though. What else did you do with your stick? I mean, with Adelaide?
Jane: Well, I also had an old tape recorder. Kind of like the one you’re using now to interview me, except mine was way cooler.
Piper: Hey!
Jane: Just keeping it real, kid. Anyway, I was always transcribing stories into it, or rehearsing play lines, or predicting the future. Sometimes, my friends and I would sing songs or tell ghost stories into it.
Piper: Neato! Do you still have the tapes?
Jane: I think I may have buried a couple.
Piper, frowning: What’d you do that for?
Jane: Like a time capsule. You’ve never done a time capsule? You mean to tell me iPads can’t do time capsules? Huh. Well, anyway, we buried a cigar box full of tapes and Polaroid pictures and nifty stuff. We buried it under that old oak tree out back.
Piper, looking mischievous: Really? Well, that’s enough interviewing for one day … thanks, Auntie Jane.
Jane: Anytime, pipsqueak. What are you doing the rest of the day?
Piper: Oh, you know, the usual. I thought I’d take the iPad out to the yard. Maybe sit under that nice, shady tree there.
Jane: Hmm. Is that so? Well, don’t forget your stick.


With two older brothers, we had a different type science kit toy in our basement. I remember it had to do with electricity and when you had it hooked up correctly, you could light up these little red lights on a series of scenes by touching two wires to a source. I was fascinated and finally nagged a brother enough to show me how to use it correctly. I always loved science and learning how and why things worked. Too bad I didn’t have a carpenter kit because I never learned how to really fix and make different things which would be great to know today.
It was my stepbrother’s Erector set, which was already a really old one proabably from tehe 30’s,= , it was super and I played for years with it. Millions of tiny parts to lose and so forth- heaven for a creative scientific kid like me.