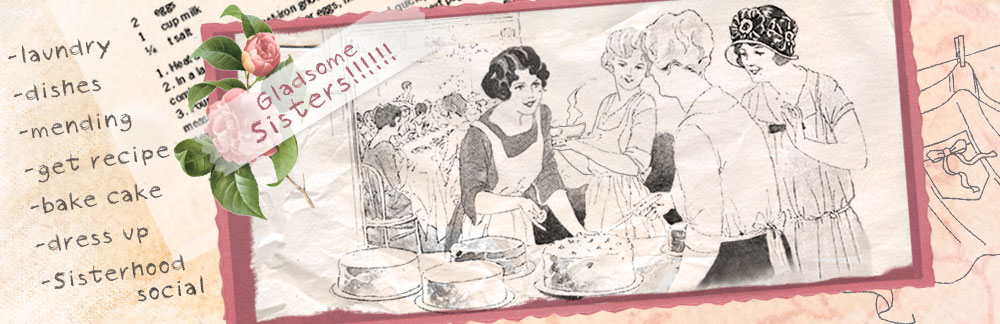
Welcome New Sisters! (click for current roster)
Merit Badge Awardees (click for latest awards)
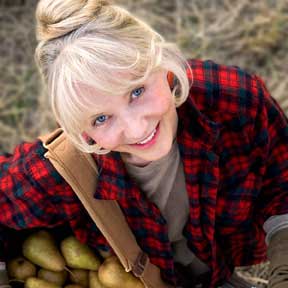
My featured Merit Badge Awardee of the Week is … Joanna Green!!!
Joanna Green (Joanna, #5965) has received a certificate of achievement in Garden Gate for earning a Beginner Level Weather Merit Badge!
“When researching for this badge, I tried to steer away from the easy, sometimes unreliable, method of Googling for answers and use a book that has been handed down to me from my father and his father before him. It’s called Outdoor Canada and was published by Reader’s Digest in 1977. However, I did break down and acquire a few facts from www.weatherquestions.com.
Here’s what I came up with:
• All weather occurs inside the atmosphere, which is 13 miles thick from the equator and 5 miles at the poles. I was actually amazed at how thin the atmosphere actually was. As the Earth revolves around the sun, the sun warms the ground. This heat radiates off the ground and warms the air within the atmosphere. The sun also evaporates water from the lakes, rivers, and various other water sources. The water vapours are drawn up into the air and eventually form the clouds. Later, this will fall as some sort of precipitation—rain, sleet, snow, etc.
• Atmospheric pressure is what the air actually weighs. The weight of the air varies at different points on the Earth simply because cold air is heavier than hot air. This creates high and low pressure areas. In a high-pressure area, the air is gradually sinking. As it sinks, the sun reflecting off the Earth warms this air and makes it able to retain moisture. This warm air evaporates the clouds that cross its path and the skies become clear. In a low-pressure system, the air is gradually rising. As it rises, it expands and cools making it difficult to retain moisture. Lows often form between the highs causing storms.
• A barometer measures the atmospheric pressure or the weight of the air. When the barometric pressure decreases, it predicts a storm, whereas rising barometric pressure predicts good weather.
• Wind is caused when air flows from a high pressure point to a low pressure point. High pressure winds circulate in clockwise fashion and low pressure winds circulate counter clockwise. The closer the high and low pressure areas are together the stronger the wind will be when the air flows from the high to the low. The friction from the Earth typically slows down the wind the closer it gets to the Earth. Wind is typically a good thing since it transports excess heat away from the surface of the Earth to cooler regions. In some cases, as we all know, wind can cause great havoc. Hurricanes and tornadoes are the worst-case scenarios of uncontrollable winds. The winds of a hurricane are usually greater than 70 miles an hour and the diameter of this swirling air mass is 400 miles or more. A hurricane starts in the hot, moist air near the equator and as the Earth rotates, it draws more moisture into the growing storm, which eventually falls as torrential rain. The eye of the hurricane (a calm area) acts as the axle of a wheel for the storm as the wind propels this “wheel” north. The friction of the land slows the hurricane, but damage can still be caused by its trailing winds. A tornado usually occurs during a thunderstorm when the air is unusually warm in the lower atmosphere and cooler in the upper atmosphere. A tornado is a column of low pressure air that is about 200 yards in diameter and rotates at 300 miles an hour.
• Air masses are large areas where temperature and moisture are much the same throughout. The temperature and moisture levels of these masses take on the characteristics of the Earth’s surface below them. When these areas meet, they form fronts. Some of these air masses are composed of cold, heavy air and others are composed of warm, light air. When the cold air masses displace the warm air of another air mass, it creates a cold front. When the opposite occurs, it causes a warm front. In either situation, the weather usually becomes troubled and stormy.”


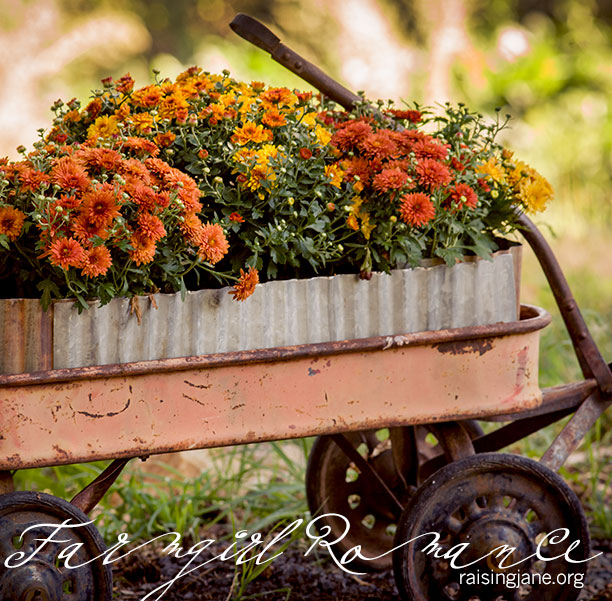


Mums are one of my favorite flowers. I love their spicy scent when you take a deep sniff too. Since Fall is my favorite time of year, mums have the perfect rich earthy tones of the season. Plus, another bonus is that they grow here in north Florida quite well. I love how yours are all bundled in the old wagon!
Looks like fall to me !