The adorable, always humorous MBA Jane is my way of honoring our Sisterhood Merit Badge program, now with 7,200 dues-paying members who have earned an amazing number of merit badges so far—10,226 total! Take it away, MBA Jane!!! ~MaryJane
Wondering who I am? I’m Merit Badge Awardee Jane (MBA Jane for short). In my former life…
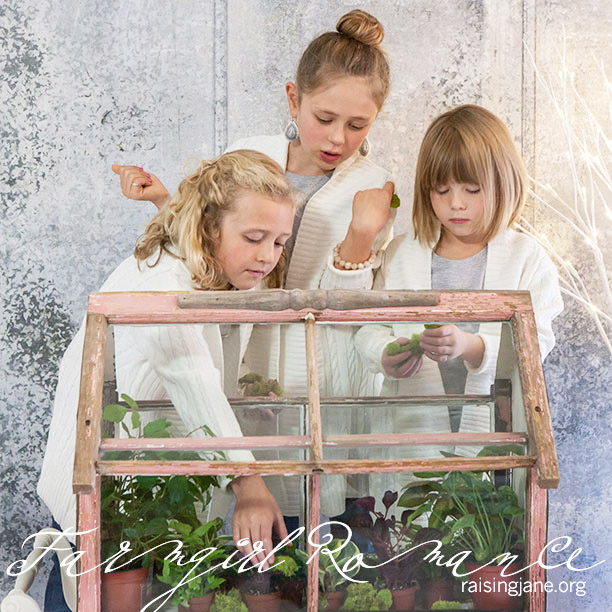
For this week’s Farm Kitchen/Icing on the Cake Expert Level Young Cultivator Merit Badge, Nora, Piper, Andy, and the Hostess with the Mostess (that’s me) all joined forces.
For the good of cake.
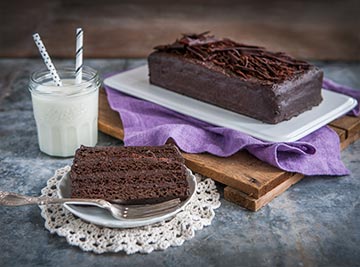
Yum.
Now, we had all gone through rigorous training to bring us to this day. After all, we had baked our way to success (and one or two failures) through the Beginner and Intermediate Level Badges, and so thusly, henceforth, and so on and so forth, forever and ever, amen, we were set.
(My waistline? A whole ‘nother kettle of fish.)
We had made our homemade, from-scratch cakes earlier and then we read through the badge requirements for this, our final cake badge: woe was us … we were supposed to decorate the said cakes and take photos.
Umm, hello? Those cakes had been digested in our tummies for a while now.
So, we did the next best thing, considering the holidays were upon us …
Andy, Nora, Piper, and Jane’s Gingerbread/Pretzel Houses
Supplies suggested:
- pretzel rods/sticks (Lots and lots. As the age-old saying goes, one for the house, one for my belly.)
- gumdrops (You can buy organic candy here. They even have kosher gummy cubs!)
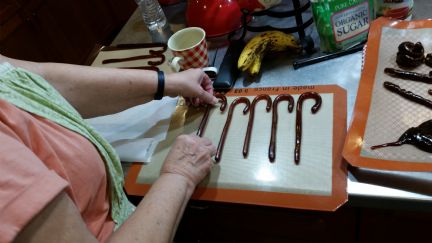
Now, depending on whether you want to eat your creation or just stare lovingly at it all season long, you will want to choose your ingredients accordingly. Piper and I were more about the architecture of the thing and we had our own snack stash nearby, so we skipped the homemade icings and used hot glue. Shh. Don’t tell. Andy and Nora, on the other hand, were all about noshing on their houses like Hansel and Gretel, and so we made sure they got their hands on most of the good-for-you organic treats, and homemade “cement.”
“Cement” for gluing houses together:
Beat 4 egg whites with 1 t cream of tartar till stiff. Gradually add 4 cups powdered sugar (I said, gradually, Andy!) and beat five minutes. Will harden quickly, so keep a towel or plastic wrap on it when not using.
The pretzel sticks/rods are adorbs for making log cabins. Coconut can be edible snow, or can be tinted with green food coloring to make grass. You can also use half-and-half, pint-sized or half-gallon-sized, empty containers for your house frames. Paint, or decoupage, and then add your candy décor. Rock chocolates make excellent chimneys.
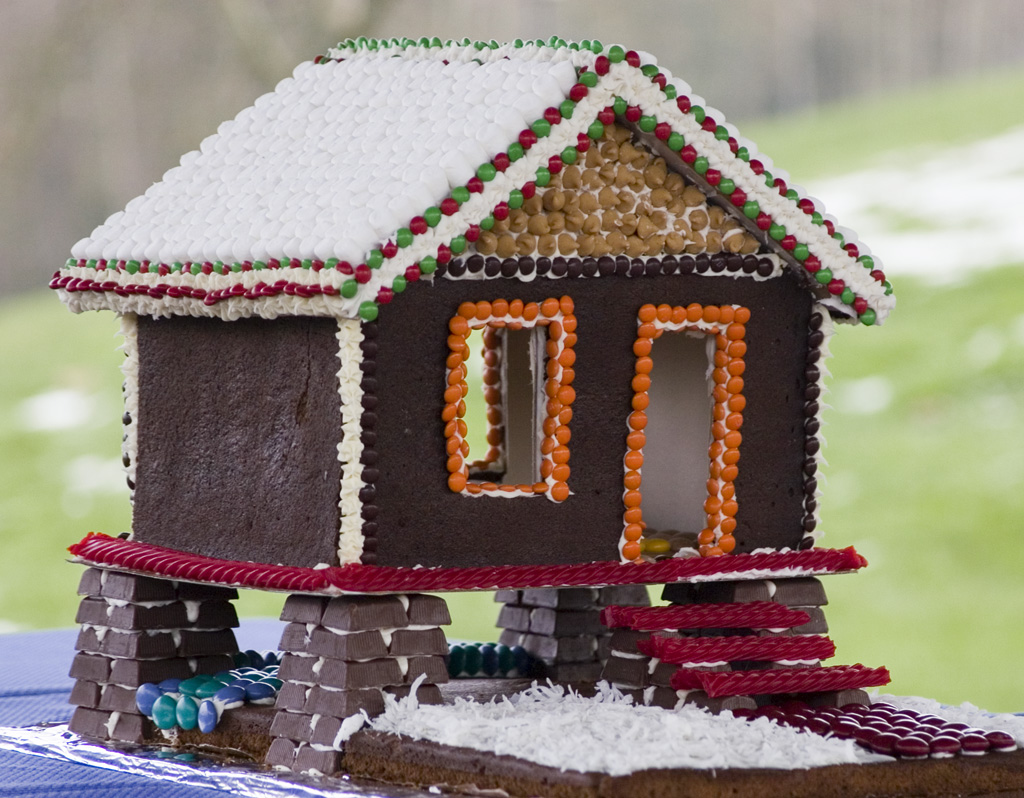
photo by Jeff Markham via Wikimedia Commons
We had ourselves a little Christmas village when we were done. Were they cakes necessarily? In the purest sense of the word? Cakes, per se? Okay, maybe not precisely … but what is cake but something that brings people together in the kitchen? And that we did, me and my elves. And I’d say, it was joyful and triumphant.
Continue reading →


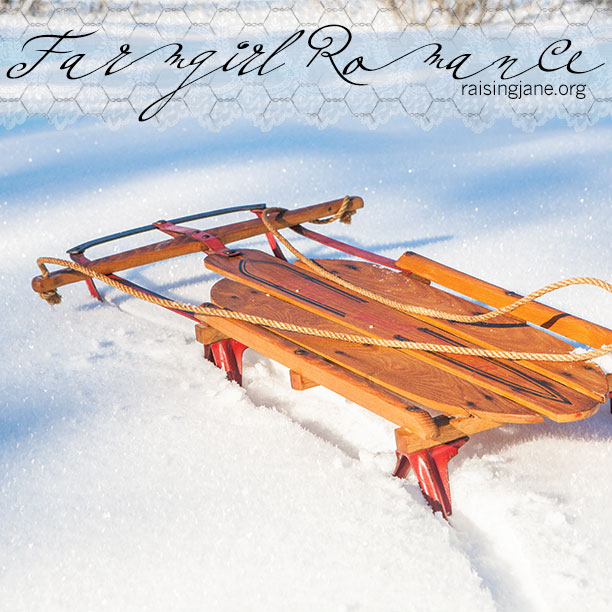


That sled brings back memories of snow days spent sledding down our neighbor, the Tills, backyard slope. The entire neighborhood group of kids of all ages gathered on school snow days, Saturdays, and Sunday afternoons for hours of great fun. The hitch about the slope was that there was a good size creek at the bottom so you had to be able to steer the sled not to end up in the drink! My neighborhood friend and next door neighbor, Bobby Anderson, and I always sledded together. Usually, I would either sit behind him or lay down on top of him because he was able to steer the sled better than me!! LOL!! We were best of friends all of our childhood.
I have my brothers and my sleds,
I’m going to be 51 on the 22nd.
And yes I still go sled riding using
our sleds. My son used them too.
They’ve held up to some rough sled
riding lol and lots of laughter.
Looks like fun!!
oh yeah the flexible flyer, what memories! We would go sledding at my best friend’s Grandmother’s place it was a double hill we called ” camel’s hump” If you built up enough speed you could do both hills in one run. Hot ovaltine and grilled cheese sandwiches afterwards .
Love the simple way of life and fun that we don’t always get in our busy life.
We love pecan pie! I put pecans in almost everything for that added delishisness!
This brings back many memories!
We used to use a slide with that on our own little hill! Then the silver round metal coasters! Fun with lots of snow!
We have a family recipe for homemade ice cream that I love. It’s a lemon custard and every time I get out the ice cream maker I just can’t get myself to try a different recipe! It has memories of many birthday celebrations for our family.